How to setup routing via Cloudflare
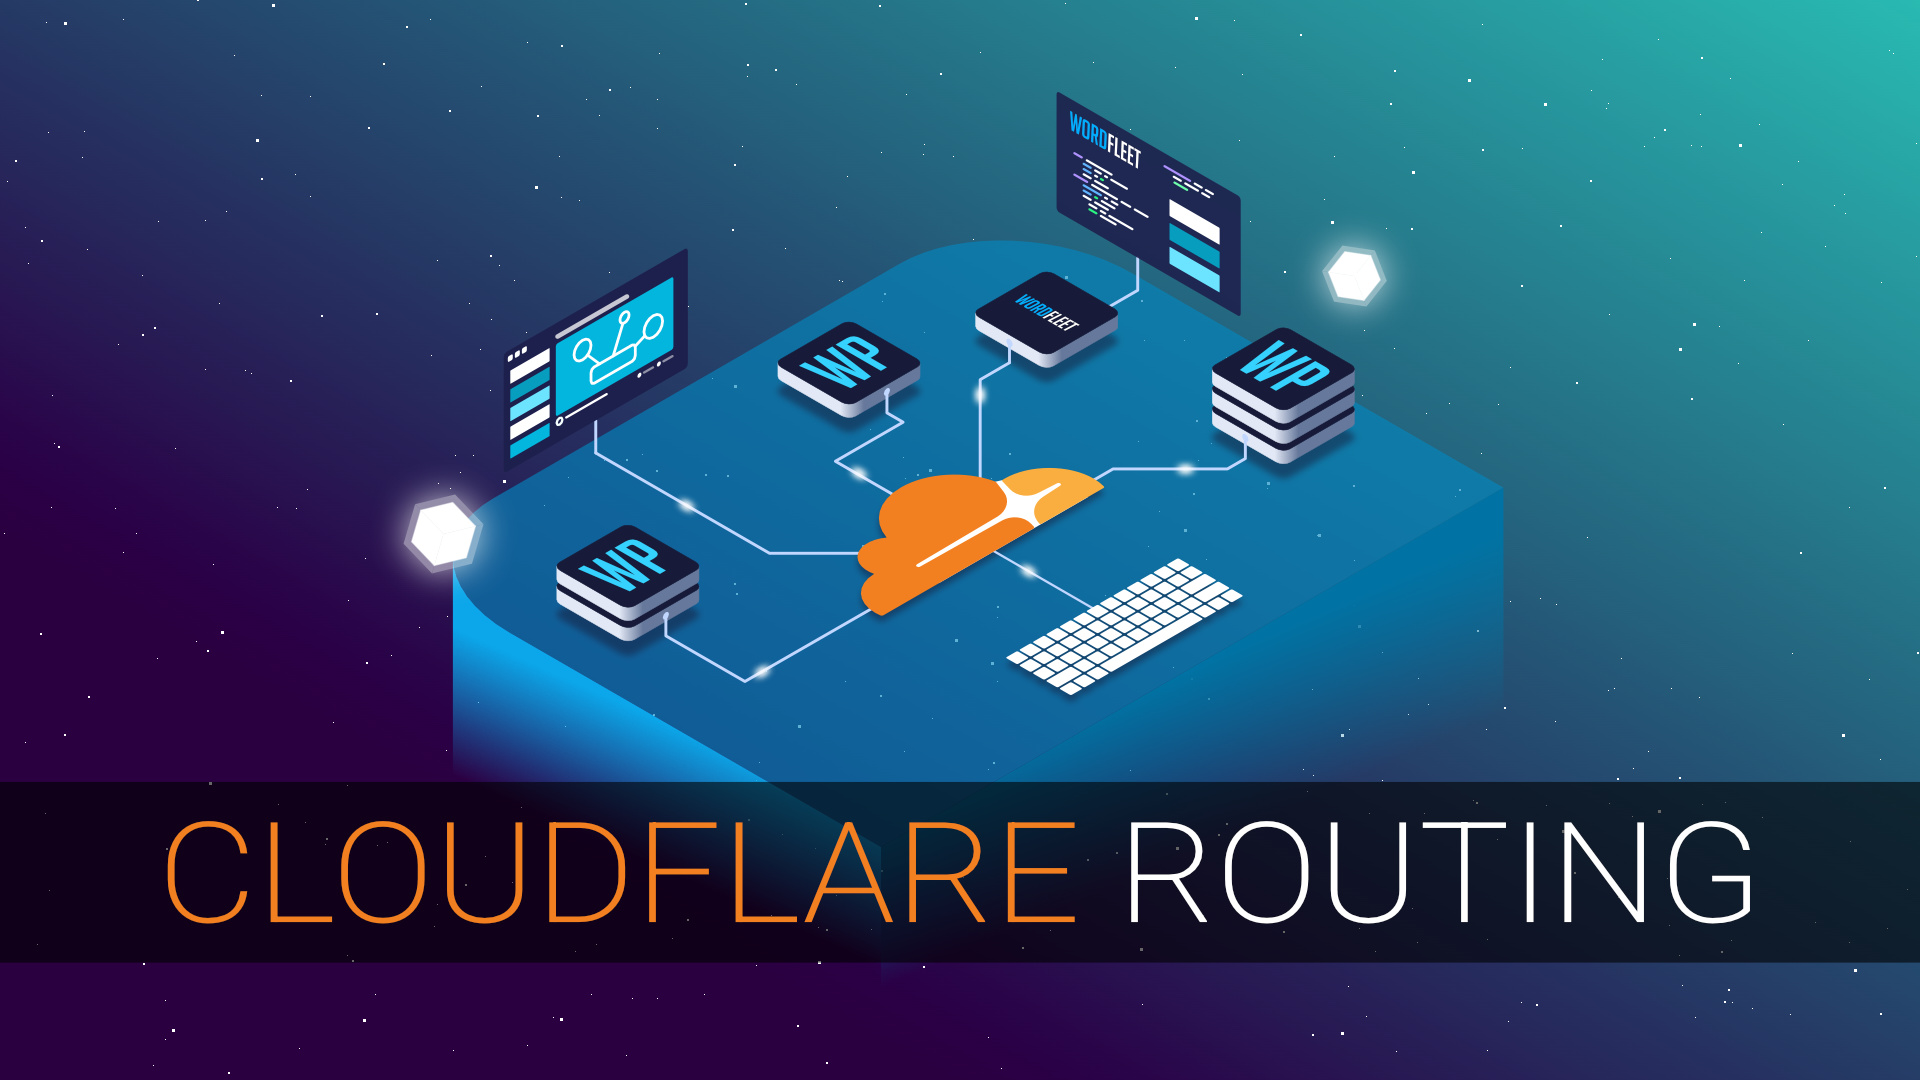
Domain name routing allows you and your users can access your WordPress sites. The Domain Name System (DNS) is the global “phone book” which powers the internet. It makes it possible for browsers search for your server’s IP address by its domain name. You can route traffic to your sites using Cloudflare (or another CDN) as described in this guide. This is the method of routing that we recommend for our users.
Don’t want to use Cloudflare? Try using direct DNS routing instead.
Who should use a Content Delivery Network (CDN)?
Generally, everyone. The benefits of a CDN far outweigh the minimal learning required to use them.
Some benefits include:
- Faster load speeds and reduced system load via edge caching
- Edge caching stores your HTML, CSS, JavaScript, and image resources closer to the people accessing your site. This results in much faster page loads times and better SEO performance.
- It also greatly reduces the amount of work your server has to do to serve the site. This means that your server can focus more on serving fresh requests as needed.
- Cloudflare upgrades connections to HTTP/2 and HTTP/3 (QUIC) where possible. This further speeds up your page load times in the browser by reducing HTTP-level overhead.
- Edge caching stores your HTML, CSS, JavaScript, and image resources closer to the people accessing your site. This results in much faster page loads times and better SEO performance.
- Easier encryption
- Cloudflare provides free edge certificates and a bunch of other SSL/TLS related goodies that make life a lot easier.
- Cloudflare provides free edge certificates and a bunch of other SSL/TLS related goodies that make life a lot easier.
- Faster routing updates
- Rerouting proxied traffic via a CDN is often much faster, if not instant.
- Rerouting proxied traffic via a CDN is often much faster, if not instant.
- Better Privacy and Protection
- By putting your server behind a CDN, you are greatly reducing the risks of being directly targeted by an attacker.
- Cloudflare mitigates a number of attack types for free, and offers higher tiers of protection for very reasonable rates.
- By putting your server behind a CDN, you are greatly reducing the risks of being directly targeted by an attacker.
- Great metrics without breaking privacy laws
- Cloudflare keeps track of where your site is being accessed from, the number of unique visitors, and some other useful stats without violating international privacy laws like GDPR.
- You can view this information from their dashboard.
- Cloudflare keeps track of where your site is being accessed from, the number of unique visitors, and some other useful stats without violating international privacy laws like GDPR.
Cloudflare routing:
- Log in to your Cloudflare account or create a new Cloudflare account.
- Visit https://cloudflare.com and either create an account or login.
- Visit https://cloudflare.com and either create an account or login.
- Add a new site.
- Click the Add Site button and enter the domain name that you wish to use.
- Note that you need to have already purchased this domain name through a third-party registrar, and must have access to change the domain name servers for the domain. Contact your registrar if you are unsure how to edit nameservers.
- Click the Add Site button and enter the domain name that you wish to use.
- Choose your plan option.
- The free plan option is usually sufficient for WordPress sites, although you can choose a paid option if you need more.
- The free plan option is usually sufficient for WordPress sites, although you can choose a paid option if you need more.
- Add the DNS records for your site (this step can also add these later on).
- Get the IP address of the server(s) that will host your sites from the WordFleet dashboard.
- Add or replace DNS “A” records for each subdomain you wish to use, and point them to the correct server.
- For example, if you have two servers (one development, one live), make sure you point your dev subdomain at the development server and not the live one.
- For example, if you have two servers (one development, one live), make sure you point your dev subdomain at the development server and not the live one.
- Note: You can perform this step after step 5 at any time via the Cloudflare dashboard for your domain, under the DNS tab.
- If you want to benefit from Cloudflare’s proxy service (you probably do), ensure the cloud switch is orange and not grey.
- If you want to route traffic directly to your server, disable the switch (making the cloud grey).
- Get the IP address of the server(s) that will host your sites from the WordFleet dashboard.
- Follow the instructions shown in the Cloudflare dashboard.
- Add the provided Cloudflare nameservers to your domain name account of your domain registrar and remove any old nameservers if prompted.
- Note that the changes may take up to 24 hours to take effect worldwide.
- Add the provided Cloudflare nameservers to your domain name account of your domain registrar and remove any old nameservers if prompted.
- Set SSL/TLS encryption to Full.
- Once your domain has been added to your Cloudflare account, click on the SSL/TLS button within Cloudflare and ensure that the SSL/TLS encryption is set to Full (not Full strict).
- Once your domain has been added to your Cloudflare account, click on the SSL/TLS button within Cloudflare and ensure that the SSL/TLS encryption is set to Full (not Full strict).
- Ensure your sites’ encryption settings are correct.
- Go into each site’s overview and ensure that the encryption is set to Cloudflare/Self Signed.