How to access WordPress files via SFTP
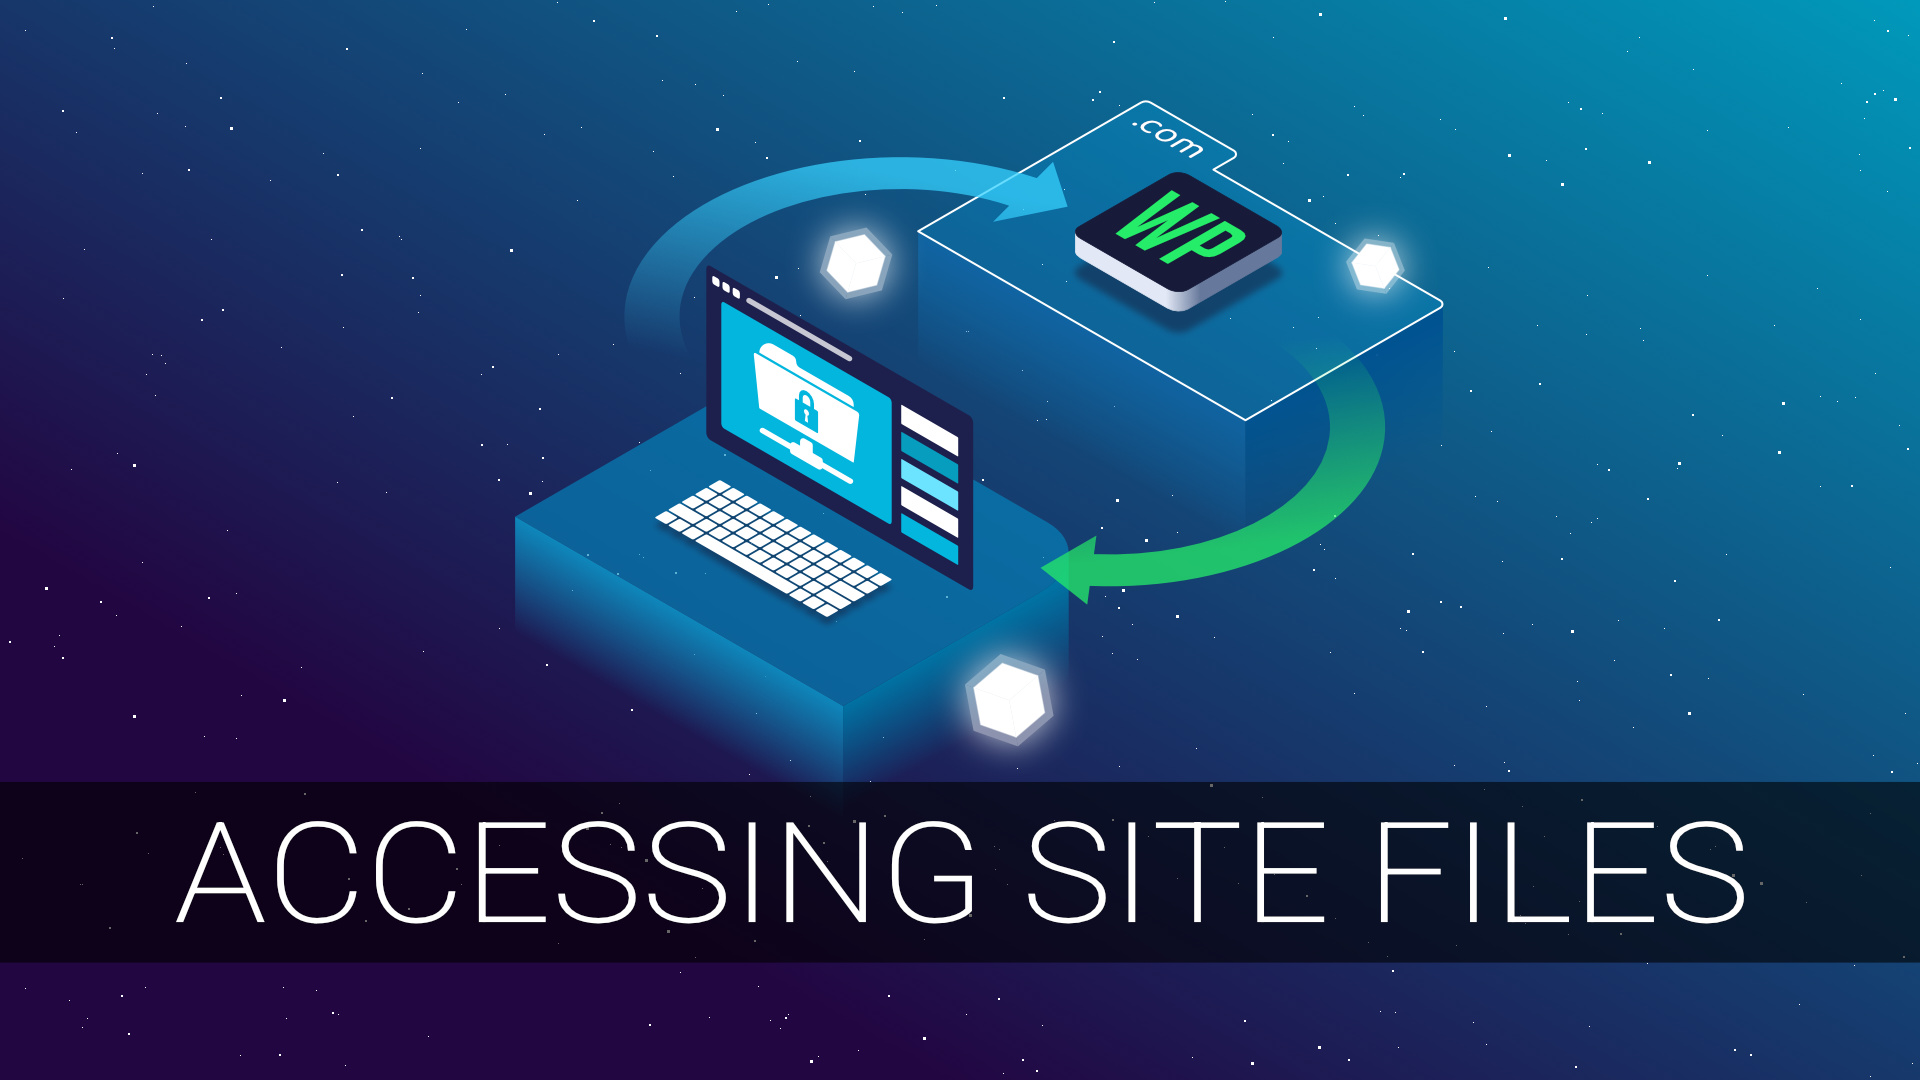
On occasion, users may need may need to access WordPress files directly on their WordFleet servers. This can be done via an SFTP client such as FileZilla, or directly using a command line terminal. If you do choose to access your WordPress files directly, we urge caution in doing so as you can easily disrupt your site and then need to restore it from a backup.
In particular, please do not alter the wp-config.php file directly using the methods outlined below. The WordFleet dashboard can be used to edit the wp-config.php file if needed.
Table of Contents:
Site access via FileZilla:
- Download the FileZilla client.
- The FileZilla client available for all major operating systems.
- The FileZilla client available for all major operating systems.
- Navigate to the SSH Keys page and generate an SSH key.
- Choose a key name, size, comment, and then click on Generate Key.
- Alternatively, you can choose to upload a pre-existing public key to use instead.
- Choose a key name, size, comment, and then click on Generate Key.
- Download the SSH key file.
- Click on the Download for FileZilla button to download the key in a PPK file format. In addition, you may wish to download the key file for OpenSSH as well, although we don’t need that for FileZilla.
- Click on the Download for FileZilla button to download the key in a PPK file format. In addition, you may wish to download the key file for OpenSSH as well, although we don’t need that for FileZilla.
- Add a site to the FileZilla site manager.
- Launch the FileZilla client. Click on the upper left Site Manager icon (or press Ctrl-S) and enter the following information:
- Click on the New Site button and enter the name of your site.
- Protocol dropdown: choose SFTP – SSH File Transfer Protocol.
- Host field: enter the IP for your server. You can find this in the Servers section of your WordFleet
account. - Logon Type: drop-down, choose Key File.
- User field: enter “root” as your user name.
- Key File field: browse to the PPK file that you downloaded in step 3 above.
- Don’t click OK yet; continue to Step 5.
- Click on the New Site button and enter the name of your site.
- Launch the FileZilla client. Click on the upper left Site Manager icon (or press Ctrl-S) and enter the following information:
- Add the /var/www directory to the site manager.
- Click on the Advanced tab in the Site Manager. In the Default Remote Directory field, enter /var/www and click OK to save this information.
- Click on the Advanced tab in the Site Manager. In the Default Remote Directory field, enter /var/www and click OK to save this information.
- Connect to your site.
- Click on the drop-down arrow next to the Open Site Manager button (top left) and select your new connection.
- Once FileZilla connects to your server, you should see the server’s project folders in the right hand panes.
- Click on the project directory to see and access your individual site files.
- Click on the drop-down arrow next to the Open Site Manager button (top left) and select your new connection.
Quality of life suggestion:
To quickly return to the default starting directory, create a bookmark.
- Click on the Bookmarks menu button and click Add bookmark.
- Add a name like “Default directories” or “Active sites” in the Name field.
- Set the Remote directory to the /var/www directory and save the bookmark.
- To access the bookmark, click again on the Bookmarks menu button and select your new bookmark.
Site access via the terminal:
- Upload your public key or generate an SSH key pair.
- Navigate to the SSH keys page. You can choose to upload a public key, or generate a new one.
- Navigate to the SSH keys page. You can choose to upload a public key, or generate a new one.
- Download the SSH key file.
- If generating a new key, click on the Download for OpenSSH button to download the key in a PEM file format. You may also wish to download the key file for FileZilla at the same time.
- If generating a new key, click on the Download for OpenSSH button to download the key in a PEM file format. You may also wish to download the key file for FileZilla at the same time.
- Use the key file to secure shell into your server.
- Copy the PEM file to the correct SSH key directory on your local computer, set the correct permissions, and use your terminal to SSH into the root directory of your server.
- You will need your server’s IP address for this as listed in the Servers section of your WordFleet account.
- Copy the PEM file to the correct SSH key directory on your local computer, set the correct permissions, and use your terminal to SSH into the root directory of your server.