How to create a managed WP server
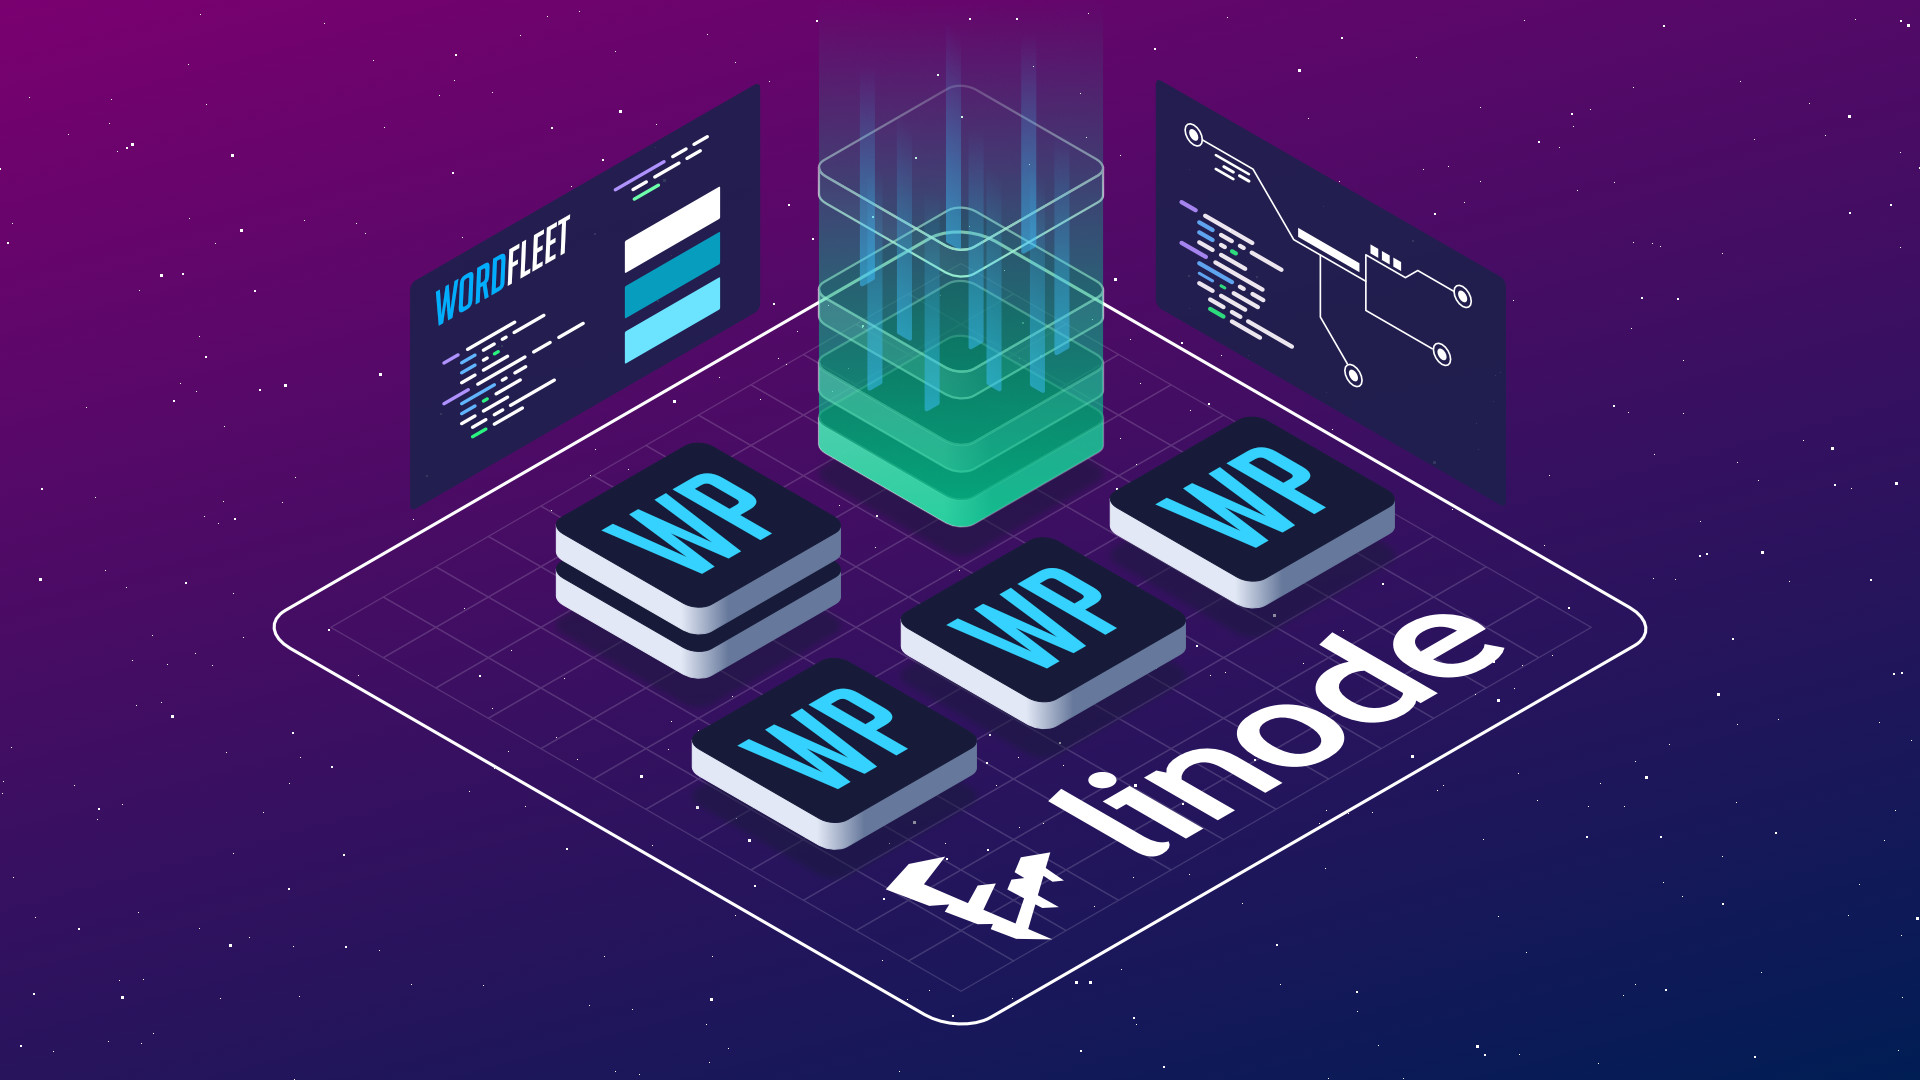
A WordFleet server is a virtual cloud-based machine that hosts your WordPress sites. These servers are hosted by established, high-quality server providers that we have partnered with. Once you have subscribed to a server plan (or multiple server plans), you can host as many WordPress sites as you can fit on your servers.
Please note that this guide is also now part of the WordPress sites guide, but remains here for those that want to spin up servers separately from their sites.
Server creation:
- Navigate to the servers page within the WordFleet dashboard and click the Create button.
- Choose a cloud provider.
- Each of our cloud partners offer great performance and a myriad of servers and regions to choose from. Sizes and available regions differ per provider.
- Each of our cloud partners offer great performance and a myriad of servers and regions to choose from. Sizes and available regions differ per provider.
- Choose a region to host your server.
- For development purposes, or your audience is close to home, you will typically want to select the region closest to you.
- For live sites you may want to choose one closer or more central to your target audience. Also, using a content delivery network will greatly speed up your site, especially if you serve an international audience.
- In any case, choose what makes the most sense for you. Closer is usually better.
- For development purposes, or your audience is close to home, you will typically want to select the region closest to you.
- Choose the series of server.
- For DigitalOcean:
- The Standard series is the most well rounded series. It has the lowest costs and good performance. Standard servers start at $12/month.
- The Premium AMD and Intel series are higher performance offerings with only a slight increase in cost. The AMD series has better performance for WordPress compared to Intel, but you cannot resize from AMD to the Intel series later on DigitalOcean. If you choose AMD, you will need to create a new server and transfer the sites manually. Premium servers start at $15/month.
- The Dedicated series is the highest performing series, but costs considerably more. However, you get the entire allotment of CPU and Memory dedicated to your virtual server. This is great for dynamic sites like e-commerce shops. Dedicated servers start at $90/month.
- The Standard series is the most well rounded series. It has the lowest costs and good performance. Standard servers start at $12/month.
- For Linode:
- The Standard series is the base offering, which brings great performance for a great price. Standard servers start at $12/month.
- The Dedicated series is the highest performing series, but costs considerably more. However, you get the entire allotment of CPU and Memory dedicated to your virtual server. This is great for dynamic sites like e-commerce shops. Dedicated servers start at $60/month.
- The Standard series is the base offering, which brings great performance for a great price. Standard servers start at $12/month.
- For DigitalOcean:
- Choose the size of server.
- The more CPU and memory your server has, the more concurrent requests it can serve at one time. As a result, bigger servers can handle more WordPress sites, or bigger sites.
- If you need more power later on, you can always scale up (and back down in some cases).
- The more CPU and memory your server has, the more concurrent requests it can serve at one time. As a result, bigger servers can handle more WordPress sites, or bigger sites.
- Decide if you need real-time health checks.
- Real-time health checks are a paid optional feature that keeps at least one constant connection to your server at all time, checking for issues. If an ongoing issue is detected, you will then be immediately emailed with details.
- In most cases, if our system notices common issues, it will then attempt to repair them. However, there are cases when our system will not be able to repair them automatically and human intervention (on our side or yours) is required.
- We do include periodic health checks for free, but they occur much less often than real-time checks.
- For businesses and individuals that use their WordPress site to generate revenue, we recommend this feature. Otherwise, if your site isn’t mission critical then you are fine to go without it.
- Real-time health checks are a paid optional feature that keeps at least one constant connection to your server at all time, checking for issues. If an ongoing issue is detected, you will then be immediately emailed with details.
- Name your server.
- Give your server a name that suits what you’re using it for. This can be something like “development” or “production” or perhaps named after a customer you are reselling the server to.
- Give your server a name that suits what you’re using it for. This can be something like “development” or “production” or perhaps named after a customer you are reselling the server to.
- Review the cost analysis and terms and click “Create Server” to confirm.
- If you don’t have a payment method on file, you will be prompted to enter one now.
- Afterwards, the wizard will display a final confirmation. Once you agree, your card will be charged. Our system will then provision your server and create your site once it is available.
- Provisioning a new server will take a few minutes.
- If you don’t have a payment method on file, you will be prompted to enter one now.
- Afterwards:
- You can create a new WordPress site.
- You can create additional servers if you need. It’s a good idea to separate your development sites from your live sites!
- You can add or generate a key pair for SSH and FileZilla via the SSH Keys page.
- You can resize your servers as needed.
- You can create a new WordPress site.