How to import a WordPress site
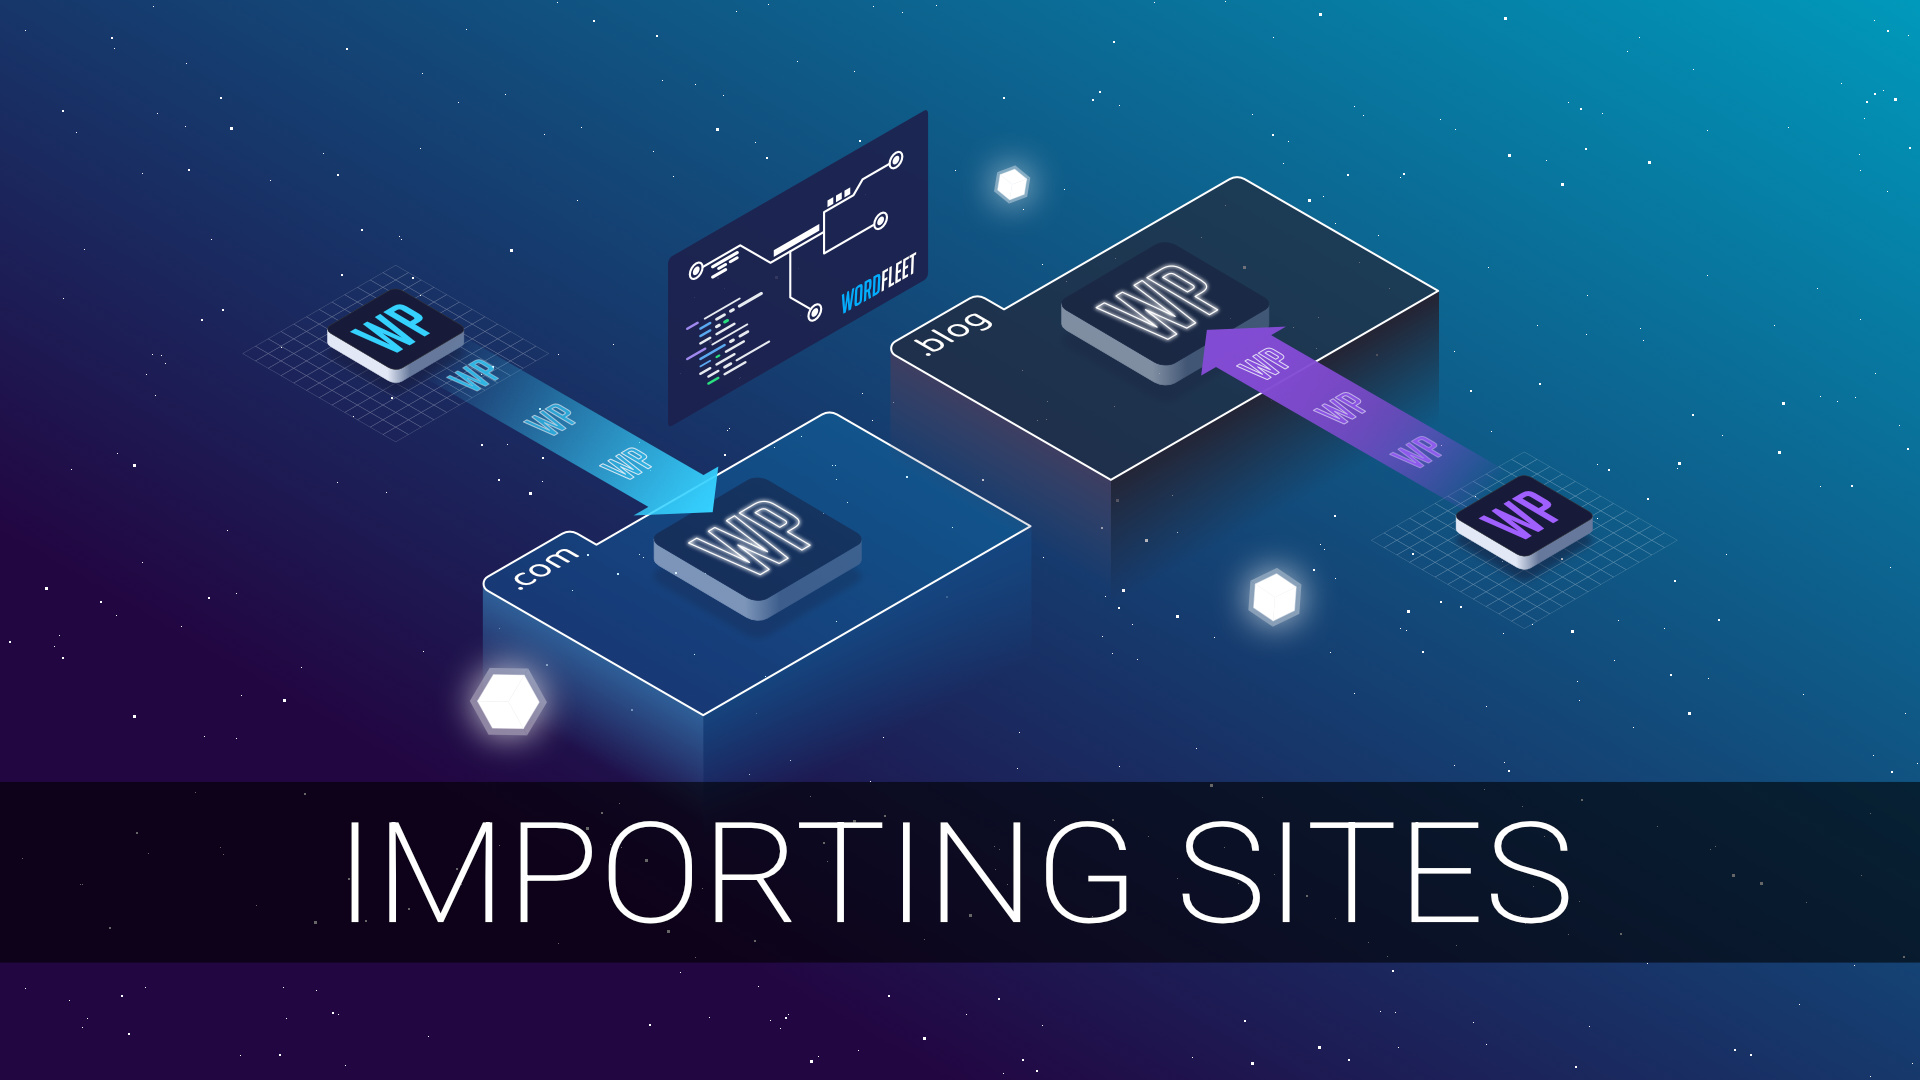
Many customers already have existing sites with other hosts that they want to transfer to their WordFleet account. Fortunately, we make it easy to import a WordPress site to one of your WordFleet servers.
Import a WordPress site:
- Navigate to the import sites page and choose the destination server.
- Choose the server that you want to import the site to. Once selected, press the Continue button.
- Choose the server that you want to import the site to. Once selected, press the Continue button.
- Click the Download Plugin and follow the on-screen instructions.
- This will install the WordFleet Importer plugin on your existing WordPress site.
- Once the plugin is installed and activated, the Start Import Process button will appear.
- Finally, press this button to import the site.
- This will install the WordFleet Importer plugin on your existing WordPress site.
- Deploy the imported site image.
- Once the import is complete, you will see the imported image listed on the Site Imports page.
- Deploy the image to the server. To do this, click the Deploy Export button.
- You can also delete old import images from this page. Do not delete your old site on your old host before confirming that the imported site has been successfully deployed and backed up.
- Once the import is complete, you will see the imported image listed on the Site Imports page.
- Select the destination project.
- Choose the project you would like to add the imported site to, and then choose a name for the imported site.
- Choose the project you would like to add the imported site to, and then choose a name for the imported site.
- Start the image deployment.
- Once the site is ready, you will see the site configuration panel. At this point, you can navigate back here from the Projects and Servers pages.
- Make sure to review your site’s configuration and make changes, as appropriate.
- Once the site is ready, you will see the site configuration panel. At this point, you can navigate back here from the Projects and Servers pages.
- Set up routing.
- You will need to update your domain name system provider with the new IP for the server to imported to.
- Depending on how your imported site is configured you may need to set up either routing via Cloudflare or direct routing.
- You will need to update your domain name system provider with the new IP for the server to imported to.
- Navigate to the URL for your site.
- Once you have updated your domain name system (DNS) provider with the new IP you can enter your URL into your browser to see your imported WordPress.
- Note that it can take up to 24 for DNS propagation to take effect world-wide.
- Once you have updated your domain name system (DNS) provider with the new IP you can enter your URL into your browser to see your imported WordPress.
- Log in to your site.
- To log into your imported WordPress browse to website-URL/wp-login.php (i.e. www.myexamplesite.com/wp-login.php) and enter log into your site as normal.
- You can verify that you are accessing your imported site on your WordFleet server by going to WP Admin > Tools > Site Health > Info > Server > Web Server in your site and verifying that wordfleet/wordproxy is displayed. If you do not see wordfleet/wordproxy, your DNS has not yet propagated. You can speed up this process on your local machine by clearing your operating system’s DNS cache and/or your browser’s cache.
- To log into your imported WordPress browse to website-URL/wp-login.php (i.e. www.myexamplesite.com/wp-login.php) and enter log into your site as normal.
If you see a TLS/SSL error:
When trying to access your site, you may get a TLS Certificate error. This is due to WordFleet defaulting all imported sites to use self-signed certificates for use behind a content delivery network (CDN) like Cloudflare. Cloudflare is free and we highly recommend it. To fix this, either put your site behind a CDN, or switch your site’s certificate type to Let’s Encrypt as described in step #6 above.
A note for Cloudflare users:
Ensure that SSL/TLS encryption settings are set to full for your domain. You can find these settings within the SSL/TLS section of your Cloudflare account